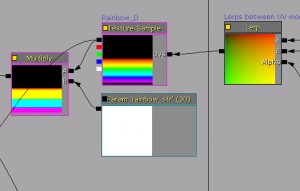
This is an improvement to yesterday’s Flaming Rainbow Material – UDK tutorial, it replaces the rainbow texture with a custom texture node that blends between colors based on a gradient.
I was tinkering with the techniques describe on this Polycount Thread, and I realized “Hey, what is a rainbow if nothing more than a gradient. Hey, I bet I could save a 512 texture if I did something like this!” The tradeoff is that instead of a 26 instruction shader using the texture map this is now 49 instructions.
So, if you have an inkling to get your hands dirty with some HLSL (this is a tutorial after all, you’ll have to work through it the way I did), dive right in. This is written for someone with little to know experience working with custom nodes in UDK’s material editor.
At the base level I took this:
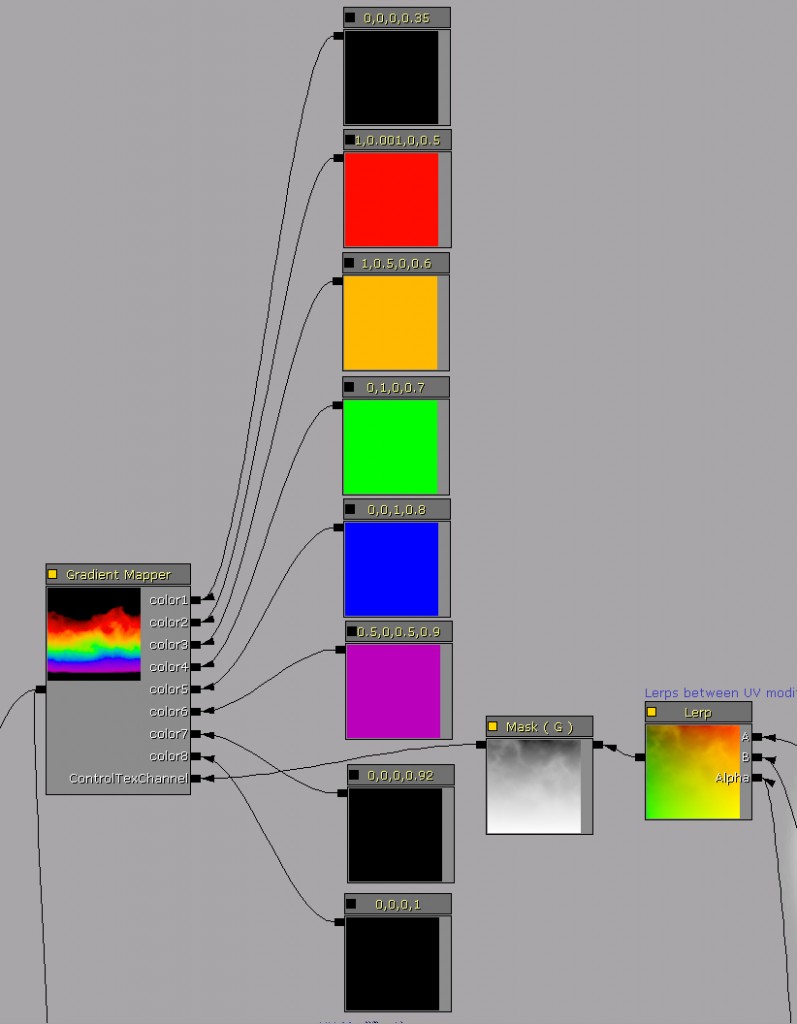
And turned it into this:
Ahh! Scary! What is that!? You might say. You might also notice that each of those colors is actually a Constant4Vector
Further, you might notice that no node named “Gradient Mapper” exists in the Unreal Material Editor’s list of nodes. It is, in fact, a Custom node. I adapted some of Vailias’ HLSL to suit my needs and dropped it into that node. You have to add and name the inputs manually, and Unreal expects something for each input unless you tell it otherwise.
The code he wrote checks if a given pixel input into ControlTexChannel. If its value is equal to the value of one of the input colors, it sets that output pixel to equal the input color. The code then outputs all pixels between two alpha values to lerp between those two input colors. For example, if I had a 0 – 1 gradient, and two input values of 1,0,0,1 (Red at Alpha=1) and 0,0,1,0 (Blue at Alpha = 0), all the pixels with a value of 1 would output as 1,0,0, and all pixels at 0 would output as 0,0,1. Between Red and Blue would be a mix of those two colors.
ColorTexChannel expects an input that is a float1 value (a single vector value), not a float2 (UVs have 2 float channels), so I masked out the R (for UVs the horizontal) channel because I don’t do anything to it in the shader, I only need the vertical positions.
I expanded the list of Gradient to include 8 color positions (think of them like points on a graph).
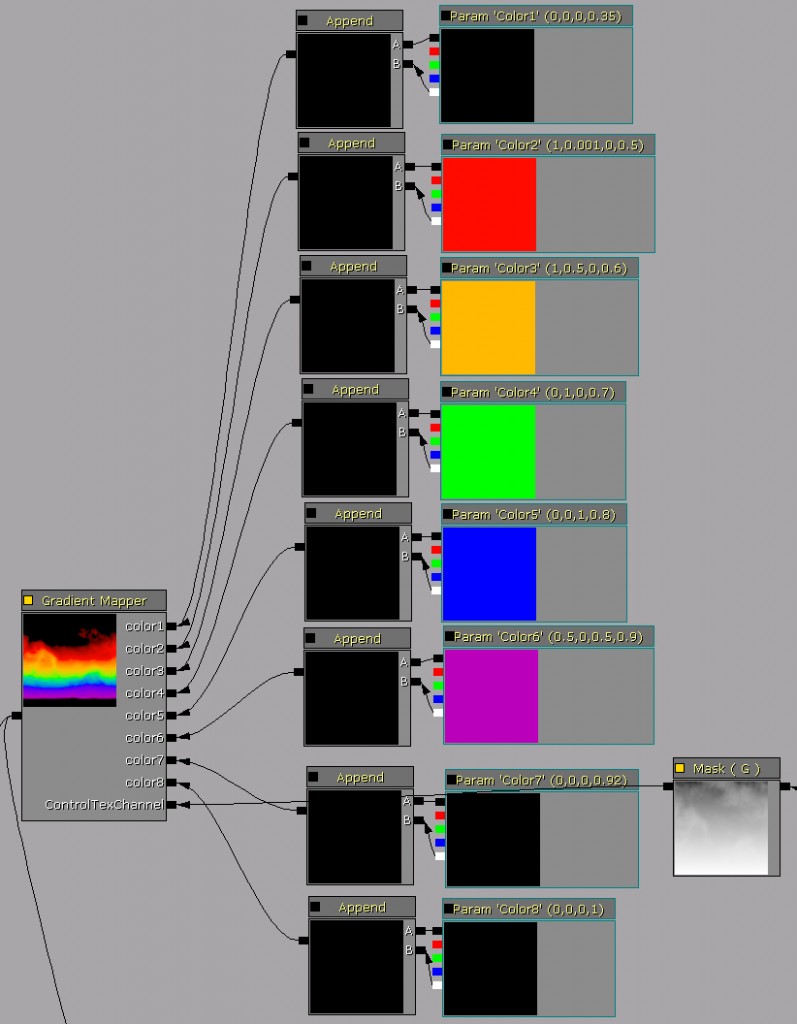
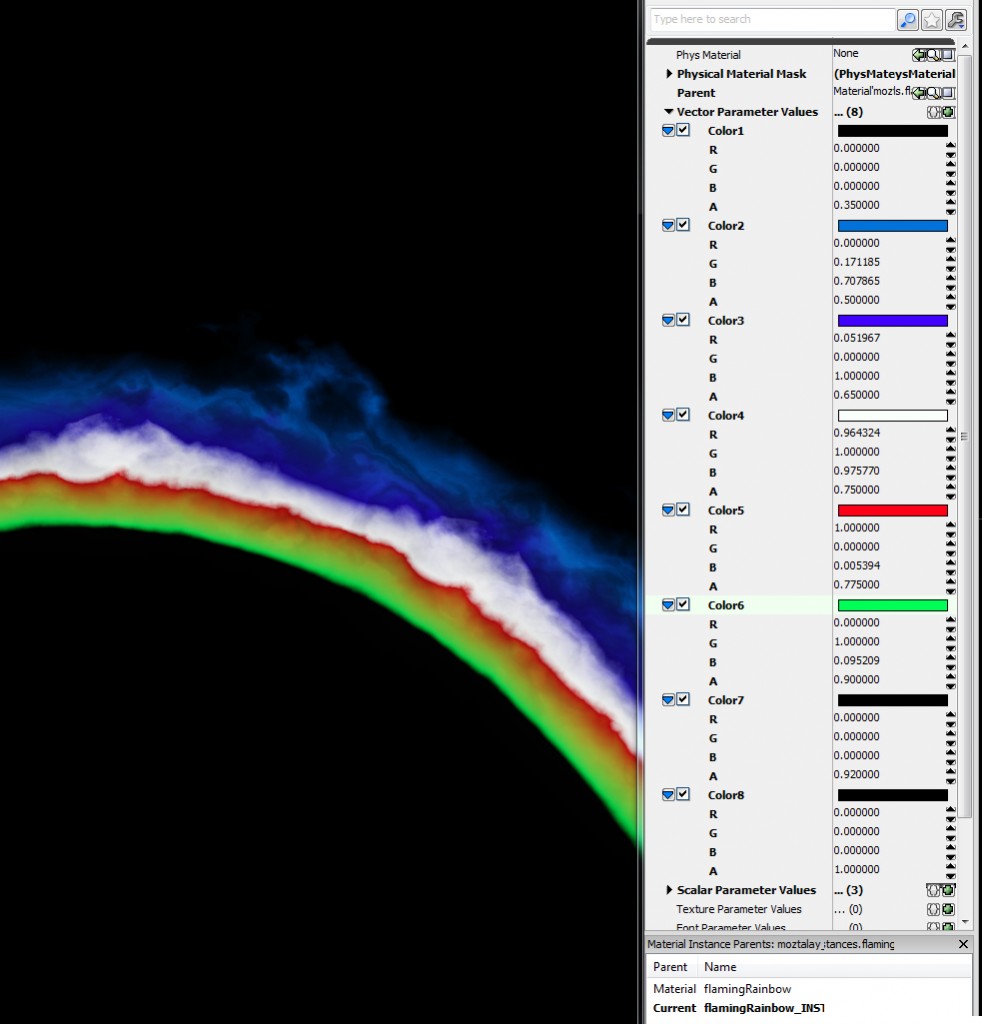
I have yet to find a way to increase the number of inputs without having to go into the code, I can tell you that the input colors can be parameterized so an artist can adjust the values and position without having to rebuild the shader every time.
If you do choose to parameterize the color inputs, make sure you append the alpha channel to the RGB so the Custom node can handle the input.
So we go from this:
To this:
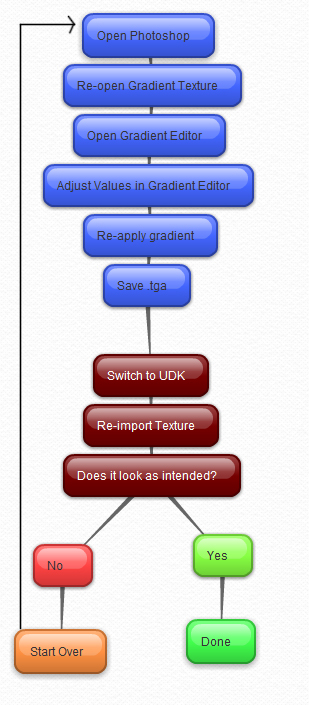
So now I can do this without ever opening Photoshop!
Going to continue tinkering with this. I have a few ideas…
Questions? Post them to the UDK forum thread, if you had a question I’m sure someone else did.
2 replies on “Flaming Rainbow Material (Advanced) – UDK”
Looks great! Really wonderful job!
God damn, I love this. Thank you.