Because rainbows are more cool when they’re on fire.
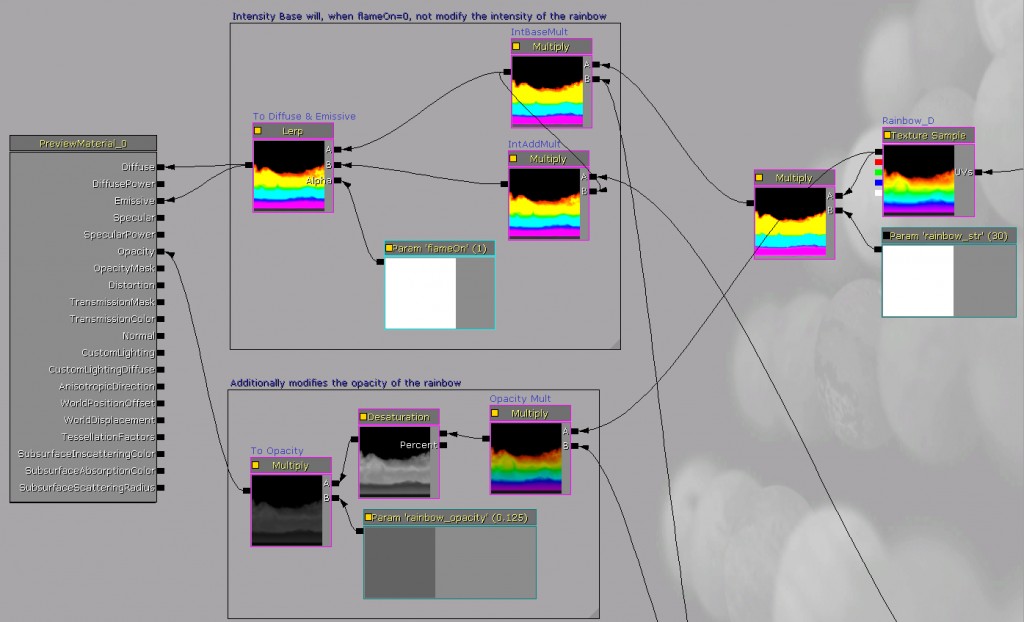
The material in UDK works by modifying a base rainbow texture’s UVs, the intensity of that rainbow, and its opacity. I put it together as a bit of a shader building challenge in Unreal. One of those “I wonder if I can…” sort of things.
Things to remember: “Lerp” is a verb.
Head over to Hourence’s if you need to brush up on Material Editor Basics for UDK.
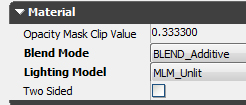
To start, set Blend Mode to “BLEND_Additive” and Lighting Model to “MLM_Unlit”
Unlit because, well, it’s a rainbow. It’s just light refracting through water in the air.
Additive because this blending mode has a base opacity driven by the intensity of its diffuse/emissive inputs. If the inputs are 0, the material is completely transparent. This gives the rainbow a base bit of transparency which we later modify.
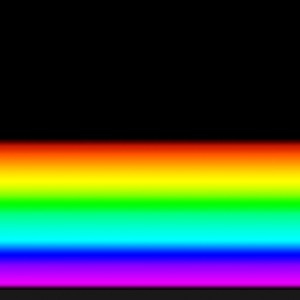
Next you’ll need a rainbow texture. I put mine together in Photoshop based off their default “Spectrum” gradient, moved a few things around, and squeezed it down to about half the texture space. We need the rest of the space on the texture map for the licks of rainbowy flame to display correctly. I tried this technique using a rainbow texture that filled the whole square, and because I was modifying the UVs, the red band was flaming up into the violet band. No good.
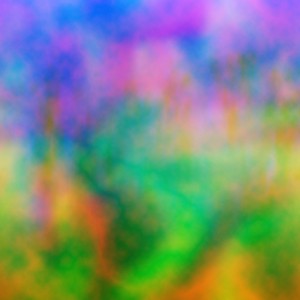
The other texture I used is a series of noise textures, each one is layered into the Red, Green, Blue, and Alpha channels of a targa. For more info on this check out Hourence’s Texture Optimization page. I made a variety because I knew I’d be experimenting with which worked best while building the shader. Ultimately I ended up using a difference cloud filter over Photoshop-rendered clouds, and a basic black and white Photoshop-rendered clouds.
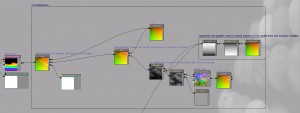
As I mentioned, the first part of this is the UV modification. By modifying the UV input of the texture, I can move pixels around the 0 – 1 space. So, for example, I could move the red band up and down, based on how the aforementioned noise map modifies the UV coordinates. This gives the material the impression of licking flames we’re looking for.
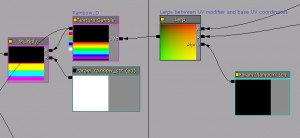
The trick, though, is that I wanted less motion at the bottom of the rainbow, and more at the top. I needed a gradient I could modify quickly, without adding texture space. When I was poking around in UDK’s new default lighting maps, I thought to look at their skydome: Instead of generating a gradient texture, they masked out one channel or the other of a TexCoord node, because its R and G values go from 0 to 1, with no stepping in between. I did a similar thing here, tweaking the V value just a bit to get the 0 level to match with the bottom of the violet band.
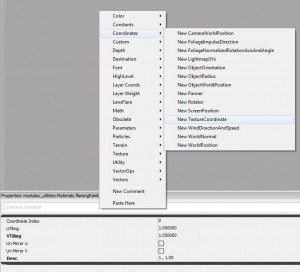
Right-click -> Coordinates -> Texture Coordinate
Change the V tiling of this node to 1.05. Leave the U tiling at 0.
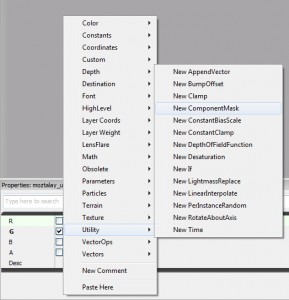
The ‘Mask’ node is created by right-clicking in the material editor window and going to “Utility -> Component Mask“. Click on the node and make sure only “G” is checked
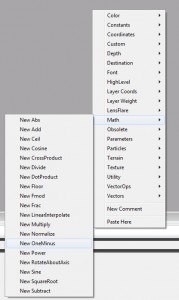
The node labeled “1-x” is known as a “OneMinus” node. It subtracts everything input to it from 1. This is a quick and easy way to flip the gradient.
Right-click -> Math -> OneMinues
That multiplies over the vertically panning output of my noise map’s red channel, which is then added to default TexCoord. Because at the bottom we’re adding a value of 0 to both the R and G values of the coordinate at the bottom, those values remain constant, while the values at the top are more varied.
(Quick Tip: To create a multiply node, simply press “M”, and one will appear under your cursor!)
(Quick Tip: To create an add node, simply press “A”, and one will appear under your cursor!)
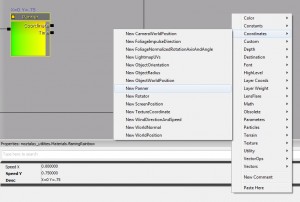
Panner: Right-click -> Coordinates -> Panner. To change thespeed in either direction, click on the node. For this panner, change Speed Y to .75
For the purposes of the demonstration video, I wanted to be able to slide between this part of the shader being on and off, instead of having it pop on. For this I used a Lerp (right-click -> Utilities -> Linear Interpolate) to fade between a default TexCoord, and the panning coordinates system.
The node “Param ‘flameOn'” is a Scalar Parameter (A constant1 with a name, right-click -> Parameters -> ScalarParameter) which has a name and can be modified in an instance. We need the instance so we can change its value through Matinee to smoothly transition from Boring Rainbow to Awesome Rainbow.
(Quick Tip: To create a Scalar Parameter, simply press “S”, and one will appear under your cursor!)
For more on parameters, check out Instanced Materials and MaterialInstanceConstant at the Unreal Developer’s Network
This all outputs to the UV input of the rainbow map.
Next is the intensity modification section, it varies up the brightness across the rainbow to add a bit more variety and fieriness to the rainbow.
For this I modify the UVs of the noise map using a panning noise map added to a TexCoord whose values I scaled to fit the mesh and UVs I was using.
Because I didn’t want the intensity to be 0 for the violet band, I used a Lerp instead of a multiply to blend between the noise and a constant of .35 based on the gradient.
Lerp between 1 and Intensity Base using the same “flameOn” scalar parameter from earlier. This ensures that everything is ramping up at the same rate. For more variation and control I would name each Lerp’s alpha input differently to better fine-tune the transition from boring rainbow to awesome rainbow.
This section puts it all together
rainbow_str is a scalar parameter to control the base intensity of the rainbow.
This is multiplied by the output of the Intensity Lerp, which is then multiplied by the output of the Intensity Add multiply node. The last instance of “flameOn” lerps between the two multiply node outputs so that when “flameOn=0” it shuts off any intensity modification to the rainbow, effectively making it static.
The output of the Intensity Base Lerp multiplies by the RGB output of the Rainbow texture, which is then run through a desaturation node, multiplied by the “rainbow_opacity” scalar parameter (so I can control the opacity of the rainbow in matinee).
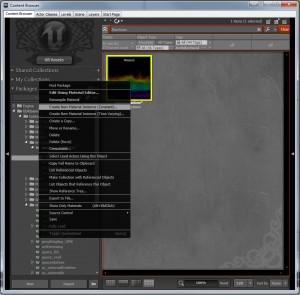
Once that’s all put together, save the material and go to the Content Browser. Right-click the material and select “create material instance (constant)”. Name it and group it as you will.
Assign that instance to your mesh, and open the instance.
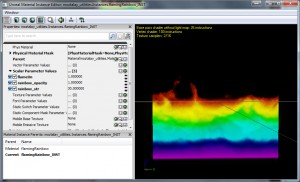
The three parameters for this instance are:
Scalar.flameOn – Drives the Alpha of three Lerp nodes. At 0, the rainbow is still, and 1 the full intensity of the flame modifiers affect the rainbow
Scalar.rainbow_str – multiplies over the RGB output of the rainbow texture to control its base intensity
Scalar.rainbow_opacity – multiplies the desaturated RGB output of the rainbow texture which controls the intensity of the Opacity input
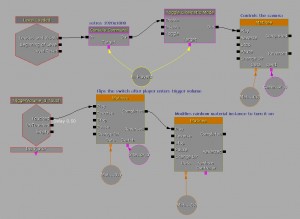
As for the demo video I used the UDK-2011-06 build’s default Midday settings, and set up this Kismet sequence:
For more information on Controlling Materials in Matinee, check out Javahawk’s tutorial video.
And that documents the shader’s contstruction. If you have any questions add to the discussion on the UDK Forums.
Hungry for more? Don’t mind monkeying with a little HLSL? Why don’t you try the Advanced version?
